![]() Estimating Edge’s team of experienced construction professionals and software engineers have developed the industry’s smartest takeoff and estimating software solutions for competitive estimates.
Estimating Edge’s team of experienced construction professionals and software engineers have developed the industry’s smartest takeoff and estimating software solutions for competitive estimates.
Don’t just estimate faster. Estimate better.®
- /
- /
- /
Hi-Lo
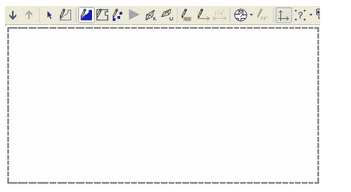
How to Use Hi-Lo
Overview:
The Hi-Lo icon is used by the Roofing contractor for setting the High point to Low point for the Roof Deck Condition, the Standing Seam Condition, the Tapered Design Insulation Condition and the Deck Layout Condition.
Follow the steps below to set the Hi-Lo for your area. It is a very simple and easy to follow:
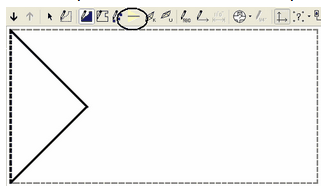
1.Digitize the perimeter of the building
2.Digitize a sloped area that needs Hi-Lo points. After Digitizing click the Select () icon and then select the triangle or area just drawn
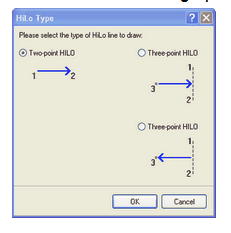
 3. Select the Hi-Lo icon by clicking on it. The Hi-Lo Type dialog opens, select the method you wish to use to draw the Hi-to-Lo arrow. Two point is a very simple digitize a Hi-to-Lo point in the area. The Three point methods are identical in steps they drains are just the opposite of each other. The arrow indicates direction of drain. In any case points 1 and 2 are the base or High point and point 3 the Lo point.
Note:
When drawing Hi-Lo lines the arrows must never touch or cross into another area. Doing so will void all calculations and require a do over.
4.This is what should happen after the Lo point is digitized. The area shown in the next panel has been enlarged several times so that you might better see the arrow ![]()