![]() Estimating Edge’s team of experienced construction professionals and software engineers have developed the industry’s smartest takeoff and estimating software solutions for competitive estimates.
Estimating Edge’s team of experienced construction professionals and software engineers have developed the industry’s smartest takeoff and estimating software solutions for competitive estimates.
Don’t just estimate faster. Estimate better.®
- /
- /
- /
- /
How to use the Restrictive Deduct Tool
This video covers the Restrictive Deduct Tool and how to turn it on inside of The EDGE through v12.
Today we’re going to cover the restrictive deduct tool and how to turn it on inside of The EDGE and how it differs from the defaulting deduct tool that you have the ability to use.
Default Deduct Tool
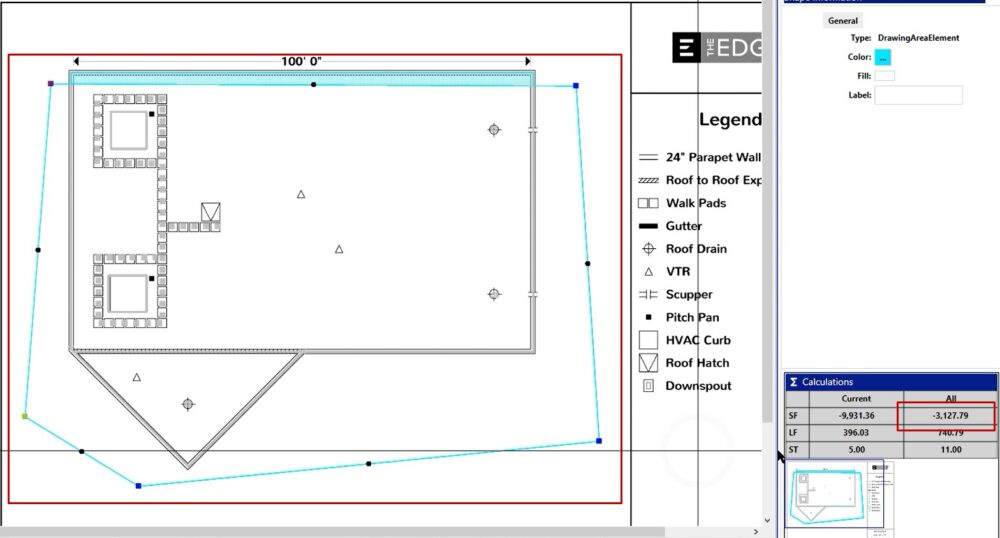
For this example, I have the default deduct tool capability on, and I have an area drawn.

I can click outside of the shape and deduct an area larger than what my actual shape is. In this example, you can see there is a negative square footage being calculated. So this is the capability that you have with the regular default deduct tool.
Restrictive Deduct Tool
If we use the restrictive mode, it’s going to change a couple of things. For this example, I’m going to delete the shape I drew in the previous step.
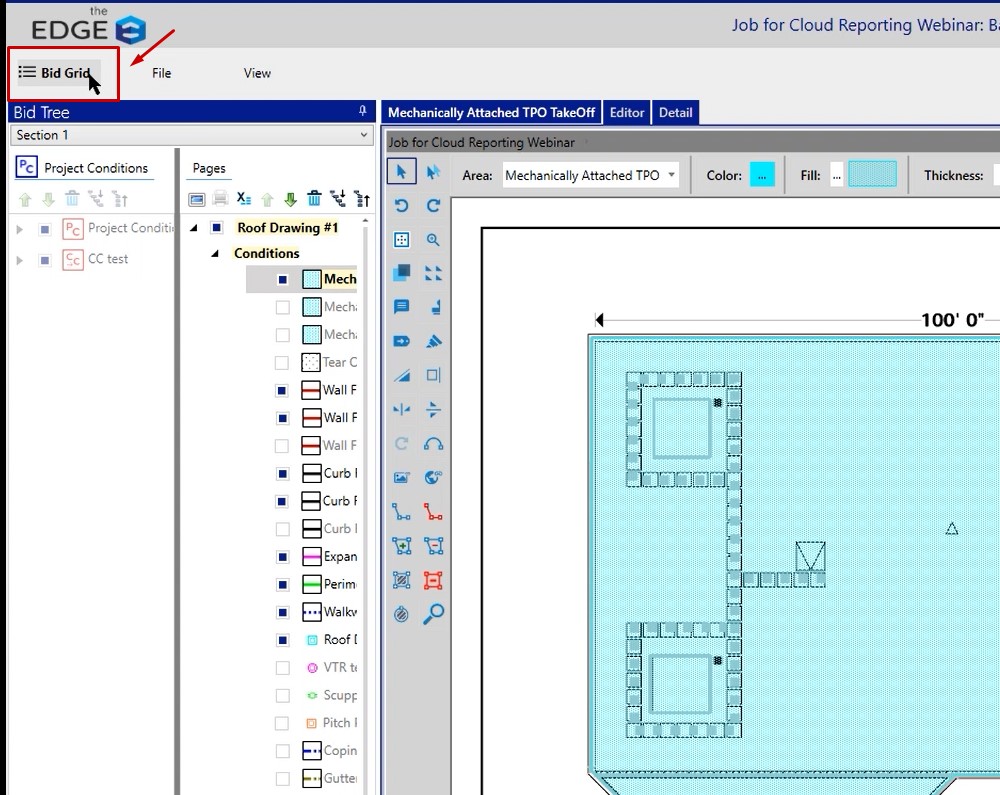
To turn on the restrictive drawing tool:
- Click on Bid Grid
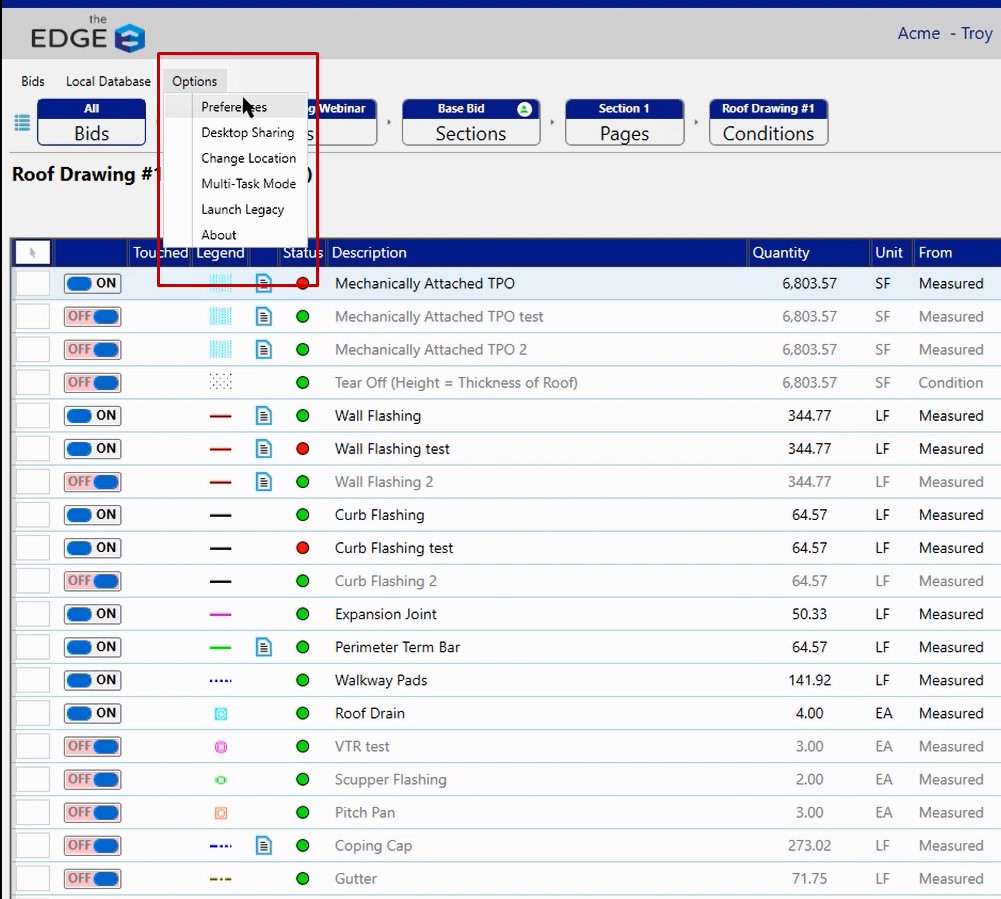
- Click on Options
- Select Preferences
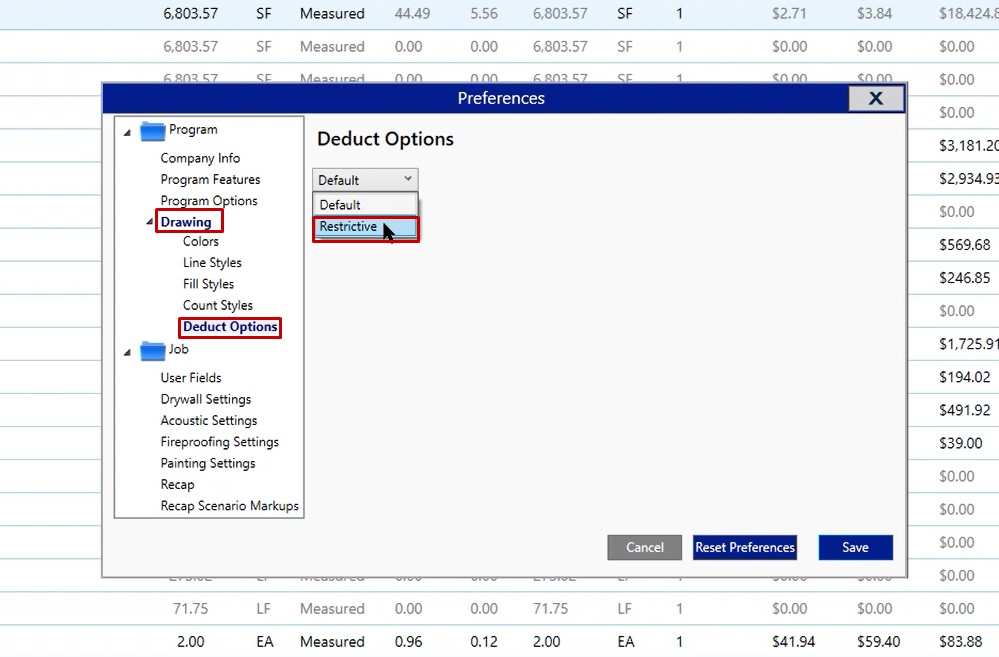
Preferences Window
- Click Drawing
- Click Deduct Options
- Select Restrictive
- Click Save
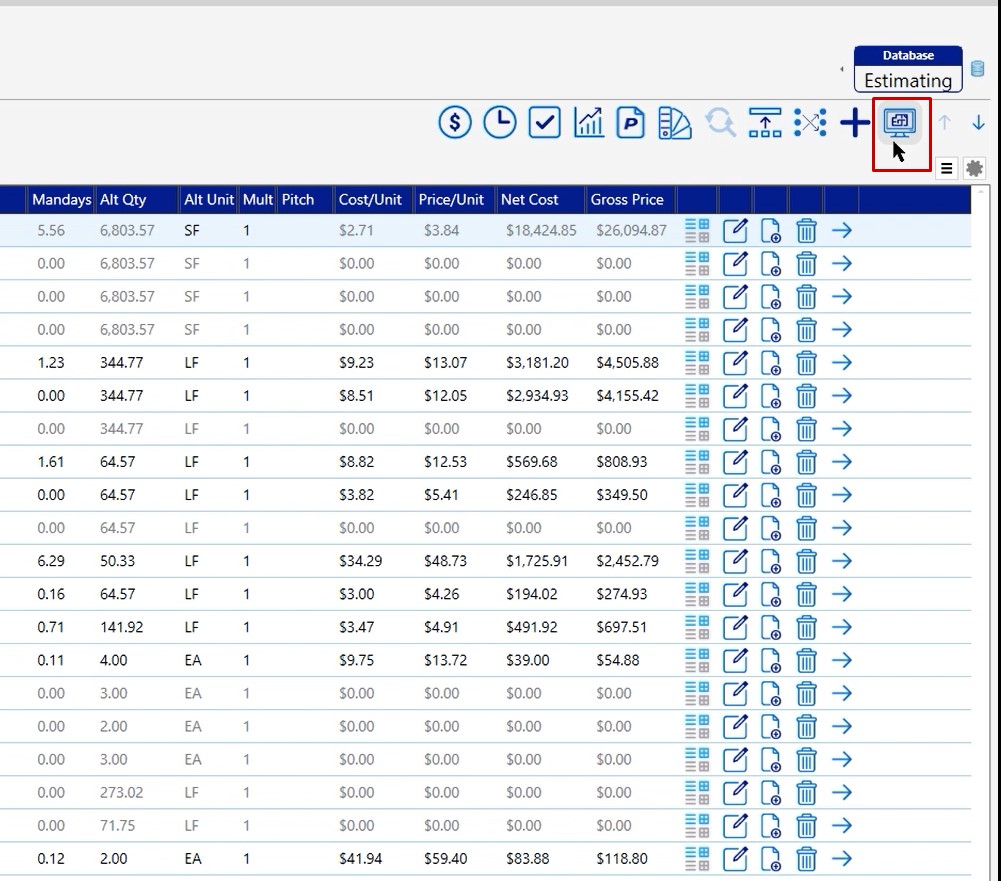
Once this processes, return to the takeoff screen by clicking on the icon in the upper, right hand side of the window
Once back on the takeoff screen, you’ll notice that we have our shape on the screen.
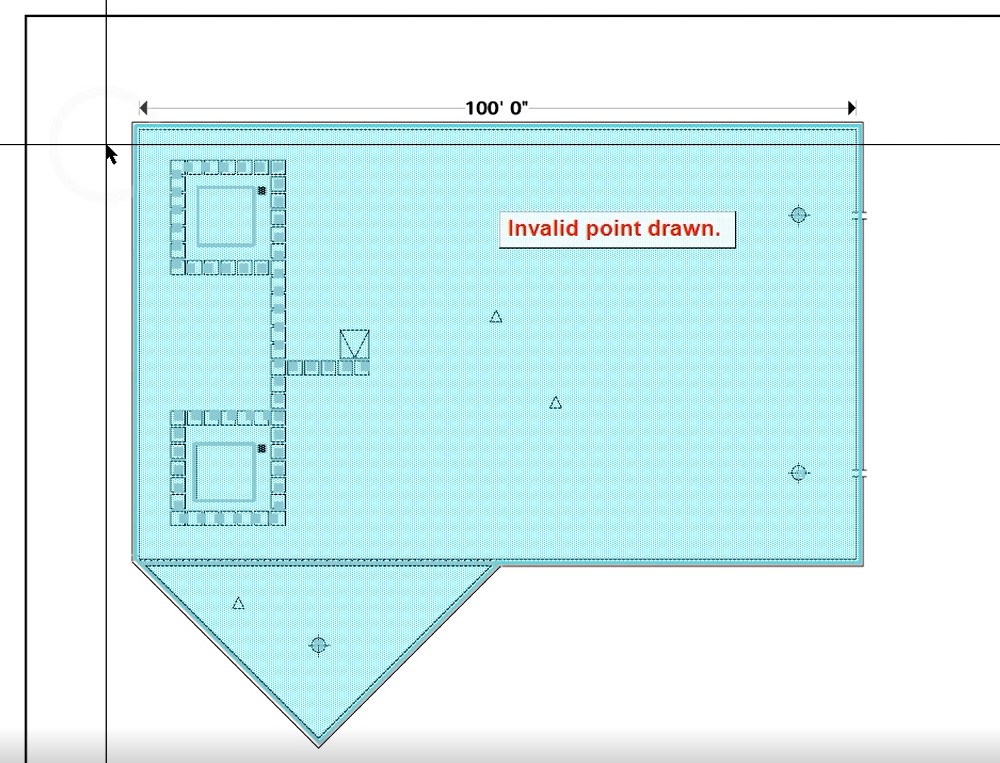
Click on the deduct option again. If you try to click outside of the shape again, it’s letting you know that you can’t put a point down. This is the restrictive deduct tool not allowing you to drop a point outside of the shape that you’ve currently drawn.
Note: If you click inside, you can now start to draw. So, if you want to make sure that you weren’t going to draw an area larger or click points outside of your shape, we definitely recommend turning on the restrictive deduct tool.
If have any additional questions or if you run into any issues while trying to make this change yourself, feel free to reach out to us on the tech line and we’d be happy to assist you in any way we can.